Saturday 25 January 2014

Baby Sleep sack/sleeping bag tutorial


The last baby born into my family was my niece nearly 3 years ago. Now her new little brother or sister (we won't know till they enter the world) is due in 6-9 weeks. Everyone is very excited and I really wanted to make some nice things that will be useful for baby.

(Sofia 5 days old)

This tutorial and making this in one evening was really brought on by the fact that I wanted to do some embroidery...

But anyway on with the tutorial!!

To begin find a sleepsuit or long sleeve onesie that fits your baby and fold it in half to draft your pattern like this:

You should end up with a shape like this:

You will either need a layer of fleece or quilting batting to make it warm enough for winter. I used cotton quilting batting between my two layers that show.

Proceed to cut out a front piece in the main and lining (quilting batting too if using) before cutting out the back piece. The back piece will need to be higher in the neckline and have the straps approx 2" longer. Cut out the back pieces the same way as the front (main, lining and optional quilting batting).


Sew main to main and lining to lining as shown below. I pinned the batting to the back of the main fabric when I sewed this and it worked. Leave a gap at the bottom to attach the zipper for easy changing.


To sew the straps, arms and neck fold the main and lining in to face each other like this:


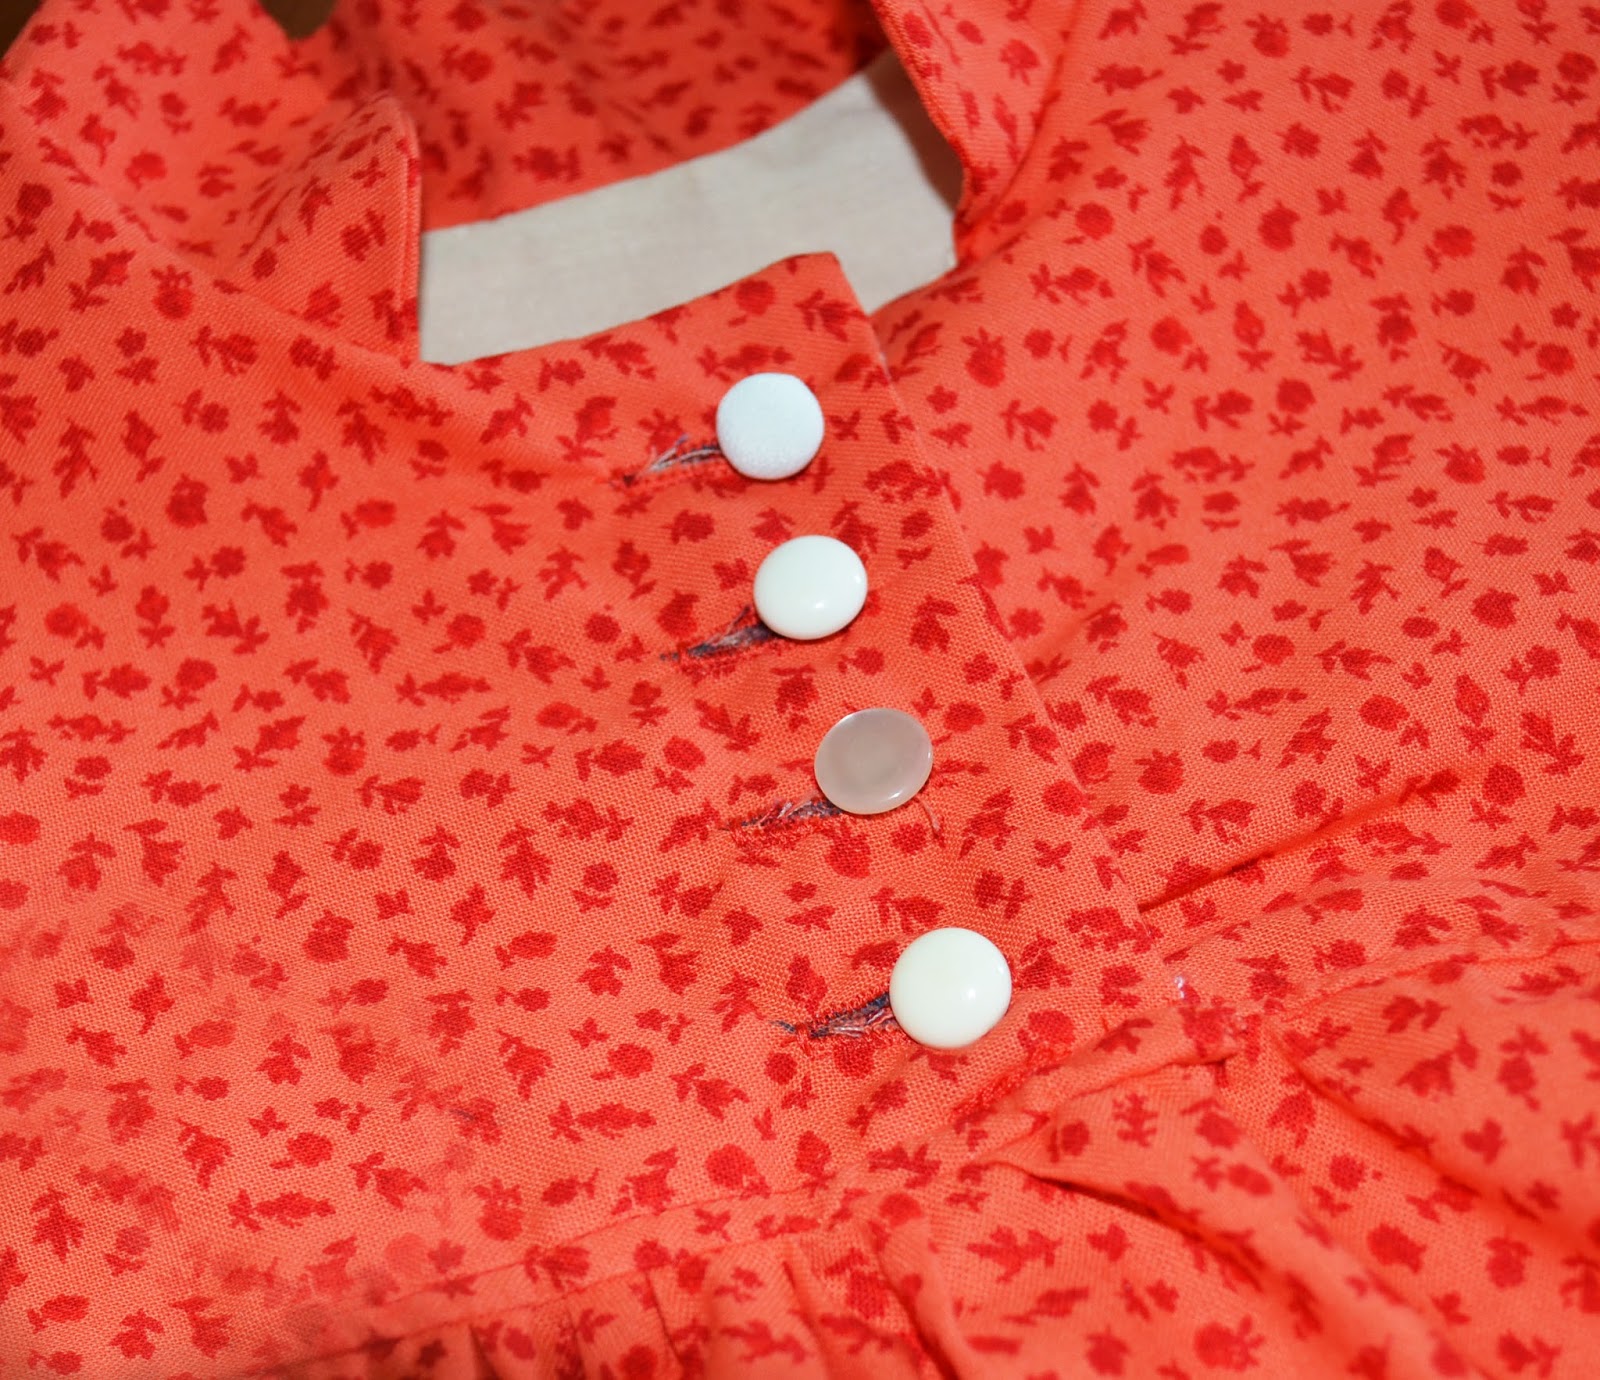
To finish sew in zipper, buttons and buttonholes (snaps are fine too).


Then, finished!


Some shots of my embroidery detail on front:


Quick instructions

Fabric used:
Cotton quilting batting
Quilting weight Winnie the Pooh cotton on main
Flannel for lining

Sunday 19 January 2014

Project Run & Play Week 2. Movie inspired.


I have been sewing along with Project Run and Play, found here.

First week's theme was 'Winter Wonderland' and I submitted a green pond weed hooded jacket.

This week I thought about a few different films that would be fun to sew. Some ideas included:
The Secret Garden

Despicable Me

The Book Thief

And Miss Potter (2006). Which I decided to go with.

Here are some inspiration screen shots from the movie.


The movie was set in the early 1900s. 
Lots of skirts, petticoats, over skirts, high neck lines and buttons were in for little girls.

Here is what I came up with:


Both pieces are heavily altered Geranium Dresses. You can buy the pattern here


I included a little bit of hand embroidery to make it more authentically 'Potter' related.


The base dress is fully lined. I altered the bodice making the buttons in the front, adding a stand up collar, sleeves etc. 


The collar was very easy to do and I love how it turned out. Would be so nice and snuggly with tights for winter.


Buttons detail. Unfortunately I did not have 4 the same. 


The over dress is a bit of an apron/play cover. The pieces are pretty similar - I took about 4" off the length of the skirt and about an inch off the back bodice so it would sit nice and open to show the dress underneath. My machine did not really like sewing this fabric - it was too soft and fine. I am glad I used it though as it has been in my stash quite a while and it will be such a nice lining for the dress.


Thanks for reading along!

If you would like a tutorial on adding sleeves to your geranium as well or adding the collar or putting the buttons on the front please let me know in the comments below.

Wednesday 15 January 2014

Growing my Bernina family.

My first sewing machine was a Brother GS2700 purchased from Spotlight. It has served me quite well - albeit with lots of testing of patience and snapping, jarring, tension problems, buttonhole problems etc. But, really, it was good of it to put up with me smashing it for over a year. 


Sadly it is now no longer working. This was a bit of a worry as I had outstanding orders at the time. Luckily I was able to borrow someone's Elna 21.


Definitely would not recommend this machine to anyone. It is very noisy and gets hot FAST. It did save me though in my time of need and I was very grateful that it did quite a nice button hole.

This series of events put me on the hunt (I was already planning on getting a new machine) for my dream machine. I thought it would be really nice to have a Bernina Bernette 20 after trying my sisters and being amazed at how beautiful it was and its stitches. But unfortunately I realised an electronic machine was not the way to go for me. For my heavy duty sewing I needed a mechanical work horse.

I checked on Gumtree a few times and found a few really excellent vintage machines. There was even a Bernina 850! This machine however was priced at $600 and had not been recently serviced.

I decided to check out a Bernina 801.


I loved it! All the reviews said they were awesome and I was not disappointed. I picked this one up for $150, although I know many people get them for $20 and less regularly from thrift stores.

Luckily for me this one had hardly been used. I found out it was made in 1980 (For Bernina's add 60 to the first 2 digits of barcode). I took it in to get serviced to make sure everything worked. The capacitor was busted so that needed to be replaced as did the light. All up it cost me $220 for the service making this machine $370 all up. 

It now runs like new and will outlast almost all machines on the market today. It is borderline industrial. It is very heavy being fully metal. It is so quiet! Almost silent running. The stitch quality is amazing.

I am a little in love.

 Everything printed on machine is still perfect.
 View from the top showing the stitch options.
 Close up of stitch options.
 Only minimal rust - but works better then those on new machines as it is spring loaded.
 Very easy to access bobbin case.

 Proof everything still works.
 Slowly growing my Bernina family.